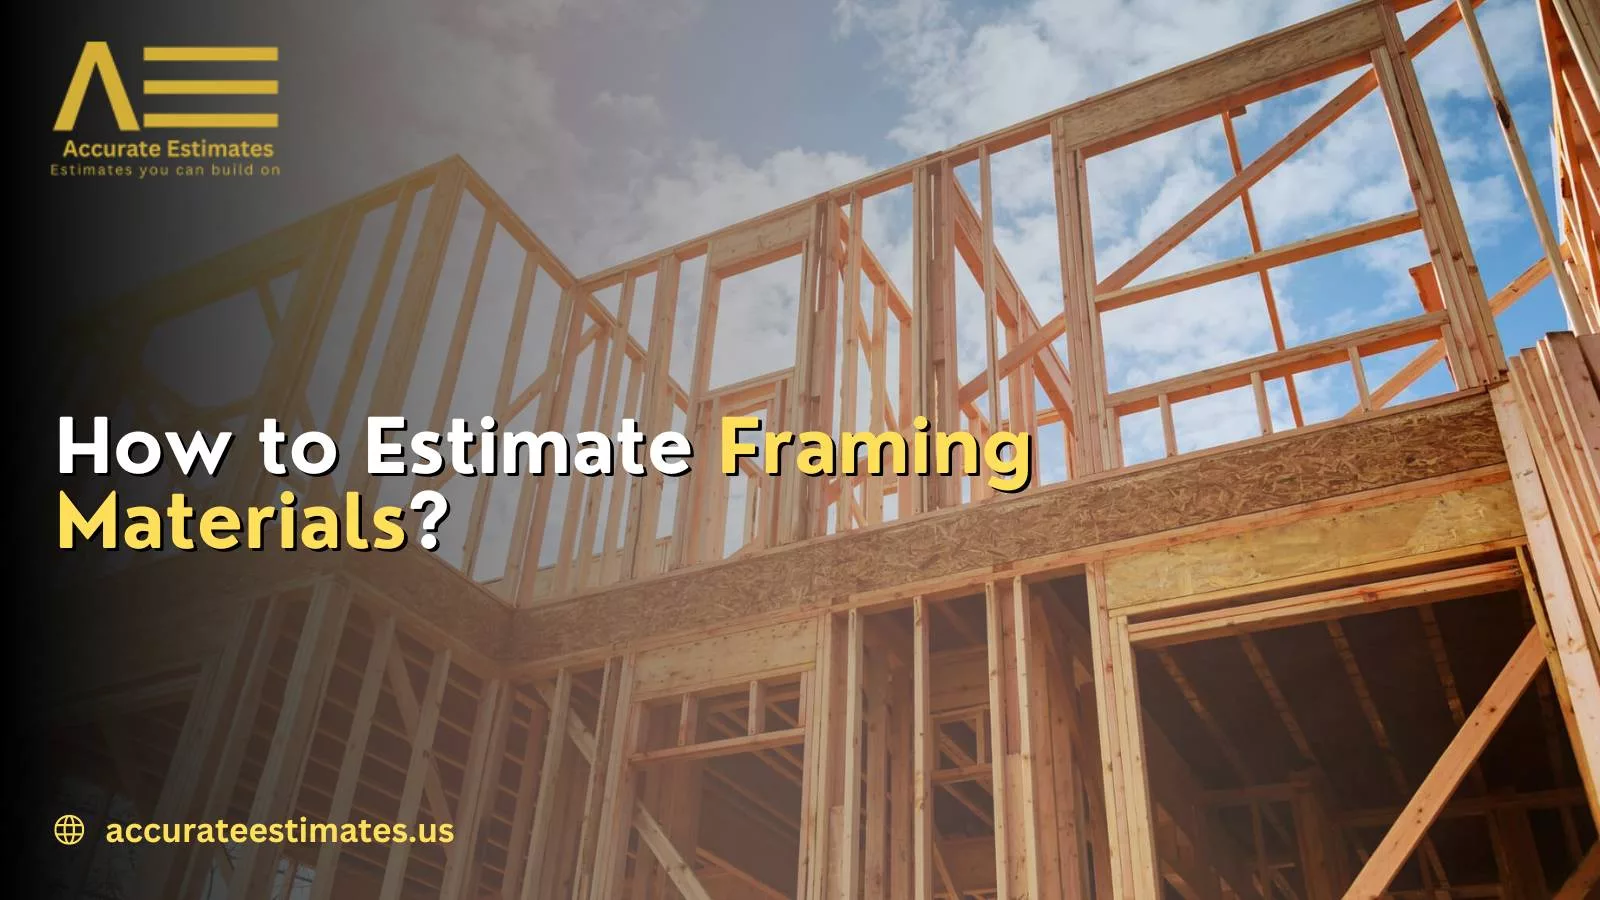
How to Estimate Framing Materials?

So you’ve got this fantastic vision for your home—creating a cozy nook in your basement or constructing the ultimate outdoor retreat. But hold up! Before you grab that hammer and get swinging, let’s talk about the unsung heroes of your project: framing materials. In this comprehensive manual, we’ll unravel all the essentials you require to master the art of estimating framing materials like an experienced professional.
Types of Framing Materials
Regarding framing, it’s like choosing the right tools for the job—only this time, we’re talking about the materials that will hold your dream project together. Here’s a detailed look at the three leading contenders:
Wood Framing
Advantages of Wood Framing
- Affordability: Wood has been a go-to for builders for centuries because it’s cost-effective.
- Ease of Handling: Wood is relatively easy to work with whether you’re a seasoned carpenter or a DIY enthusiast.
- Design Flexibility: Want to add a quirky angle or a unique curve to your walls? Wood allows for creative freedom.
Disadvantages of Wood Framing
- Vulnerability to Moisture: Without proper treatment, wood can warp, rot, or become a feast for termites.
- Maintenance Needs: Regular upkeep, such as painting or sealing, is essential to prolong wood’s lifespan.
Metal Framing
Advantages of Metal Framing
- Durability: Metal studs are solid and resistant to pests and moisture.
- Consistent Quality: Each metal stud is uniform, ensuring predictable construction results.
- Fire Resistance: Metal framing can offer added fire protection to your structure.
Disadvantages of Metal Framing
- Higher Cost: Metal framing materials can be pricier upfront compared to wood.
- Specialized Tools Required: Working with metal studs may need specific tools and techniques.
Composite Framing
Advantages of Composite Framing
- Strength and Stability: Composites combine the best of wood and metal, offering a sturdy framework.
- Moisture Resistance: Composites are less prone to water damage than traditional wood.
- Eco-Friendly Options: Certain composite materials utilize recycled resources, catering to green-conscious consumers.
Disadvantages of Composite Framing
- Limited Availability: Finding composite materials might be trickier depending on your location.
- Higher Initial Cost: The upfront investment for composite framing materials can be higher than wood.
Calculating Studs for Walls
Alright, you’ve got your tape measure and a vision for your walls. Now, it’s time to delve into the specifics of determining those studs. Here’s a detailed walkthrough to guarantee you arrive at precisely the proper count:
Using a Stud Calculator
Before we dive into the manual calculations, let’s introduce you to the trusty stud calculator. This online tool takes the hassle out of counting and gives an instant estimate based on your wall dimensions.
Steps to Accurately Calculate Studs
1. Measure Wall Length
Whip out that tape measure and get the exact length of your wall. Measure it twice for accuracy—it never hurts!
2. Determine Stud Spacing
Most walls have studs spaced either 16 or 24 inches apart. Consider your wall’s purpose and local building codes.
3. Accounting for Openings
Do doors or windows? Subtract their dimensions from your total wall length to get the proper stud count.
Detailed Calculation Method
Now, let’s delve into the formula for a precise count:
1. Multiply the Total Wall Length
Multiply your foot wall length by 0.75 for 16-inch on-center stud spacing.
2. Add Studs for Specific Elements
- For every 90-degree corner, add three studs.
- For every 45-degree corner, add four studs.
- Add two studs for each wall intersection where another wall abuts the one you’re estimating.
- If you have openings:
- Add two studs for each opening that’s 5 feet wide or less.
- Add one stud for each opening over 5 feet wide.
3. Account for Waste
- Multiply the total count by 1.15 to add 15 percent for Waste. This ensures you have extra materials for cuts and unexpected changes.
Let’s put this into practice with an example calculation to see the method in action.
Example Calculation
Imagine you have a straight 20-foot wall with two 90-degree corners, one 45-degree corner, and a 6-foot-wide window. Let’s calculate the studs needed:
1. Multiply Total Wall Length by 0.75:
- 20 feet×0.75=15 studs
2. Add Studs for Specific Elements:
- Three studs for each 90-degree corner ×2=6 studs
- Four studs for the 45-degree corner ×1=4 studs
- Two studs for the window opening ×1=2 studs
3. Total Studs Before Waste:
- 15 studs+6 studs+4 studs+2 studs=27 studs
4. Account for Waste (15%):
- 27 studs×1.15=31.05 studs
In this example, you would need approximately 31 studs for your 20-foot wall with the given elements, accounting for a 15% waste factor.
By following these precise calculations, you’ll ensure that your wall framing is spot on, with just the suitable materials for a sturdy and secure structure. So grab that calculator, crunch those numbers, and start building!
Estimating Framing Materials for Roof
Roof Sheathing
Importance of Roof Sheathing
- Think of roof sheathing as the sturdy base for your roofing materials.
- It provides structural support, insulation, and a barrier against the elements.
Calculating Sheathing Material
- Roof pitch and size significantly determine the amount of sheathing required.
- We’ll explore how to calculate this based on different roof shapes and sizes.
Factors Influencing Sheathing Estimate
Roof Pitch
- Steeper roofs require more sheathing due to their larger surface area.
- We’ll explain how to measure and calculate for varying roof pitches.
Roof Size
- The square footage of your roof directly correlates to the amount of sheathing needed.
- Learn how to estimate sheathing for both simple and complex roof designs.
Framing a Basement
Steps to Frame a Basement
Assessing Basement Layout
- Before grabbing your tools, map out your basement’s layout on paper.
- Consider any obstacles like pipes, electrical panels, or support beams.
Gathering Materials
- Time to make your shopping list! From studs to nails, ensure you have everything on hand.
- Remember safety gear like goggles and gloves.
Marking Layout
- Use chalk lines or laser levels to keep where your walls will stand.
- Accurate measurements at this stage save headaches during construction.
Framing the Walls
- Let the construction begin! Nail your bottom plate in place and start adding studs.
- We’ll guide you through framing corners, doorways, and tricky areas.
Common Mistakes to Avoid
Not Considering Moisture
- Basements are notorious for dampness, which can wreak havoc on wood.
- Discover moisture-resistant materials and techniques to keep your framing intact.
Ignoring Building Codes
- Each area has specific building codes that must be followed.
- We’ll emphasize the importance of permits, inspections, and code compliance.
Tips for Efficient Material Estimation
Organize and Plan Ahead
- Create a detailed list of materials needed for your entire project.
- Account for Waste, extra cuts, and unexpected changes.
Utilize Online Calculators
- Stud calculators, sheathing estimators, and even budgeting tools are just a click away.
- We’ll recommend some of the best online resources for accurate estimates.
Consulting with Professionals
- When in doubt, seek advice from experienced contractors or builders.
- They can offer insights, recommend materials, and ensure your project meets safety standards.
Conclusion
Estimating framing materials isn’t just about crunching numbers—it’s the foundation of your project’s success. By understanding the nuances of wood, metal, and composite framing, you’re equipped to make informed decisions. From calculating studs for sturdy walls to ensuring the proper sheathing protects your roof, every step contributes to a solid, safe, and stunning structure. So dive into your project confidently and watch your vision take shape, one stud at a time


